Fields & Tags
Choose which account fields and tags this agent auto-populates or auto-applies from conversations.
Fields & Tags connects structured data capture to this agent. Definitions (creating fields and tags, keys, types, colors) are managed in Settings → Fields & Tags. On the agent, you choose what this agent is allowed to fill in or tag automatically during conversations.
Think of Settings as the schema (what exists account-wide) and this tab as the per-agent policy (what this agent may extract or apply).
Fields
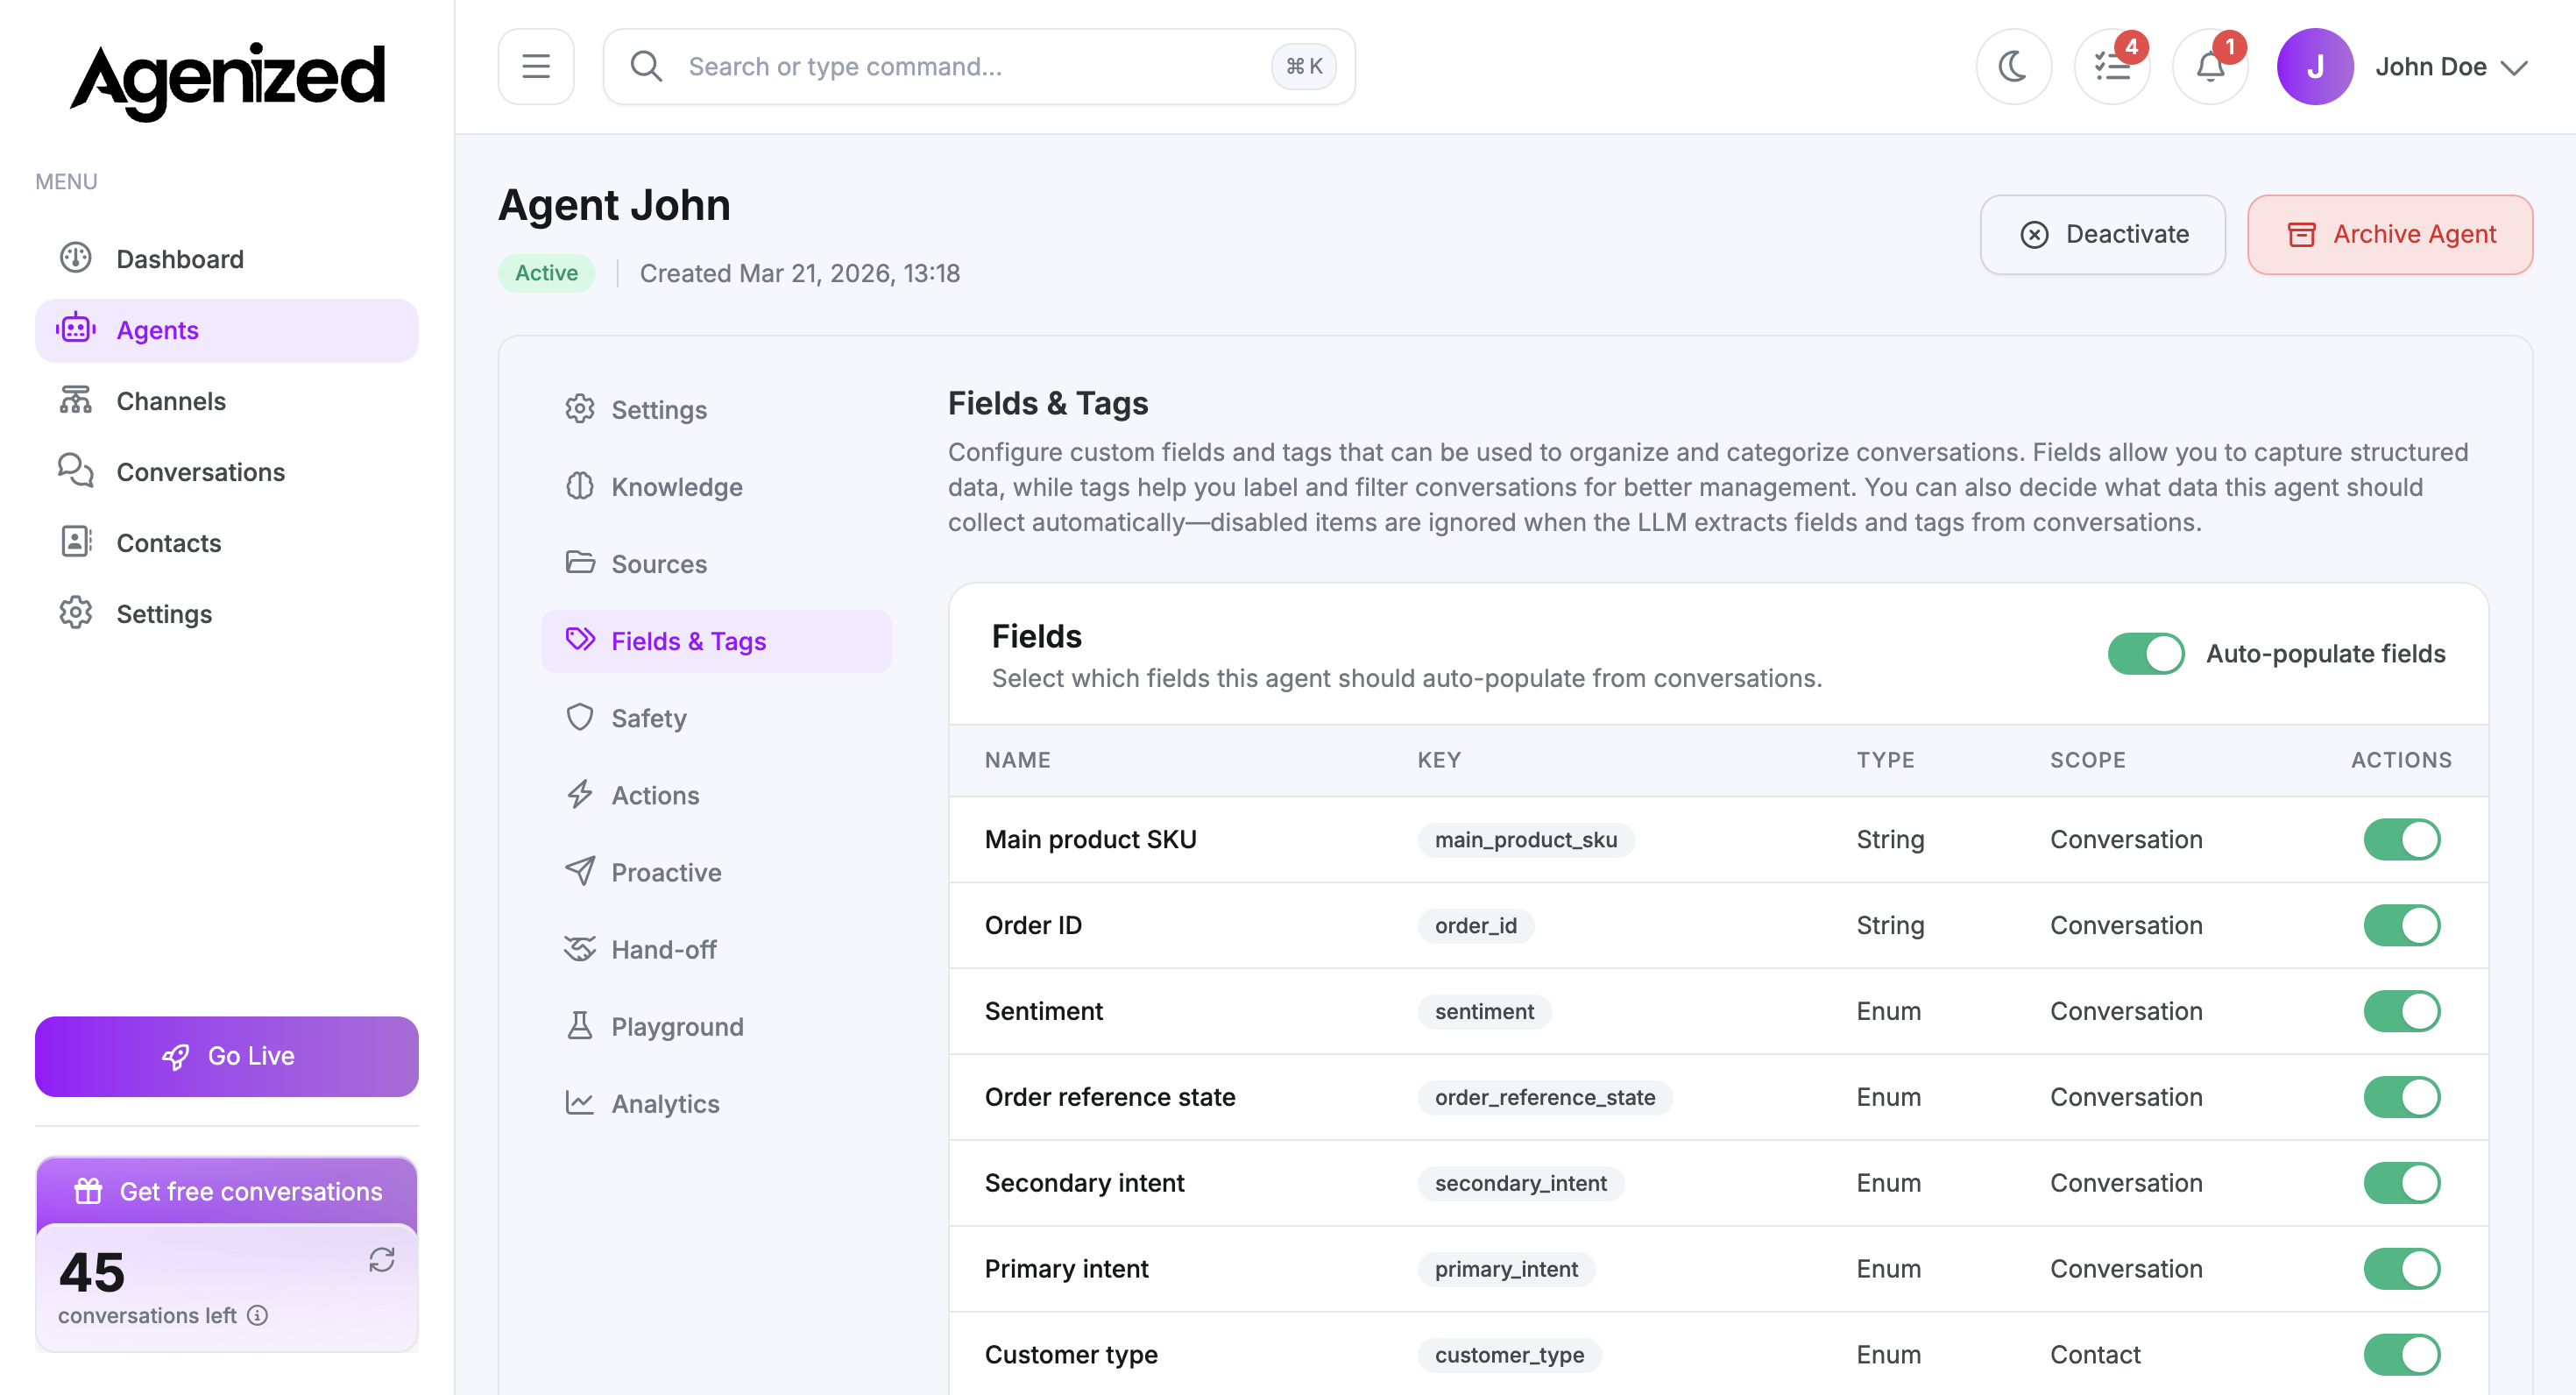
Turn Auto-populate fields on to let the model extract values into your custom fields (for example order ID, SKU, sentiment). The table lists each field’s name, key, type, and scope (conversation or contact).
Use the per-row toggles to include or exclude fields for this agent. Disabled fields are not sent to the model for extraction, which reduces noise and cost.
To add or edit field definitions, use Settings in the main sidebar, open Fields & Tags, then Fields and Add Field. See Fields & Tags in Settings.
Tags
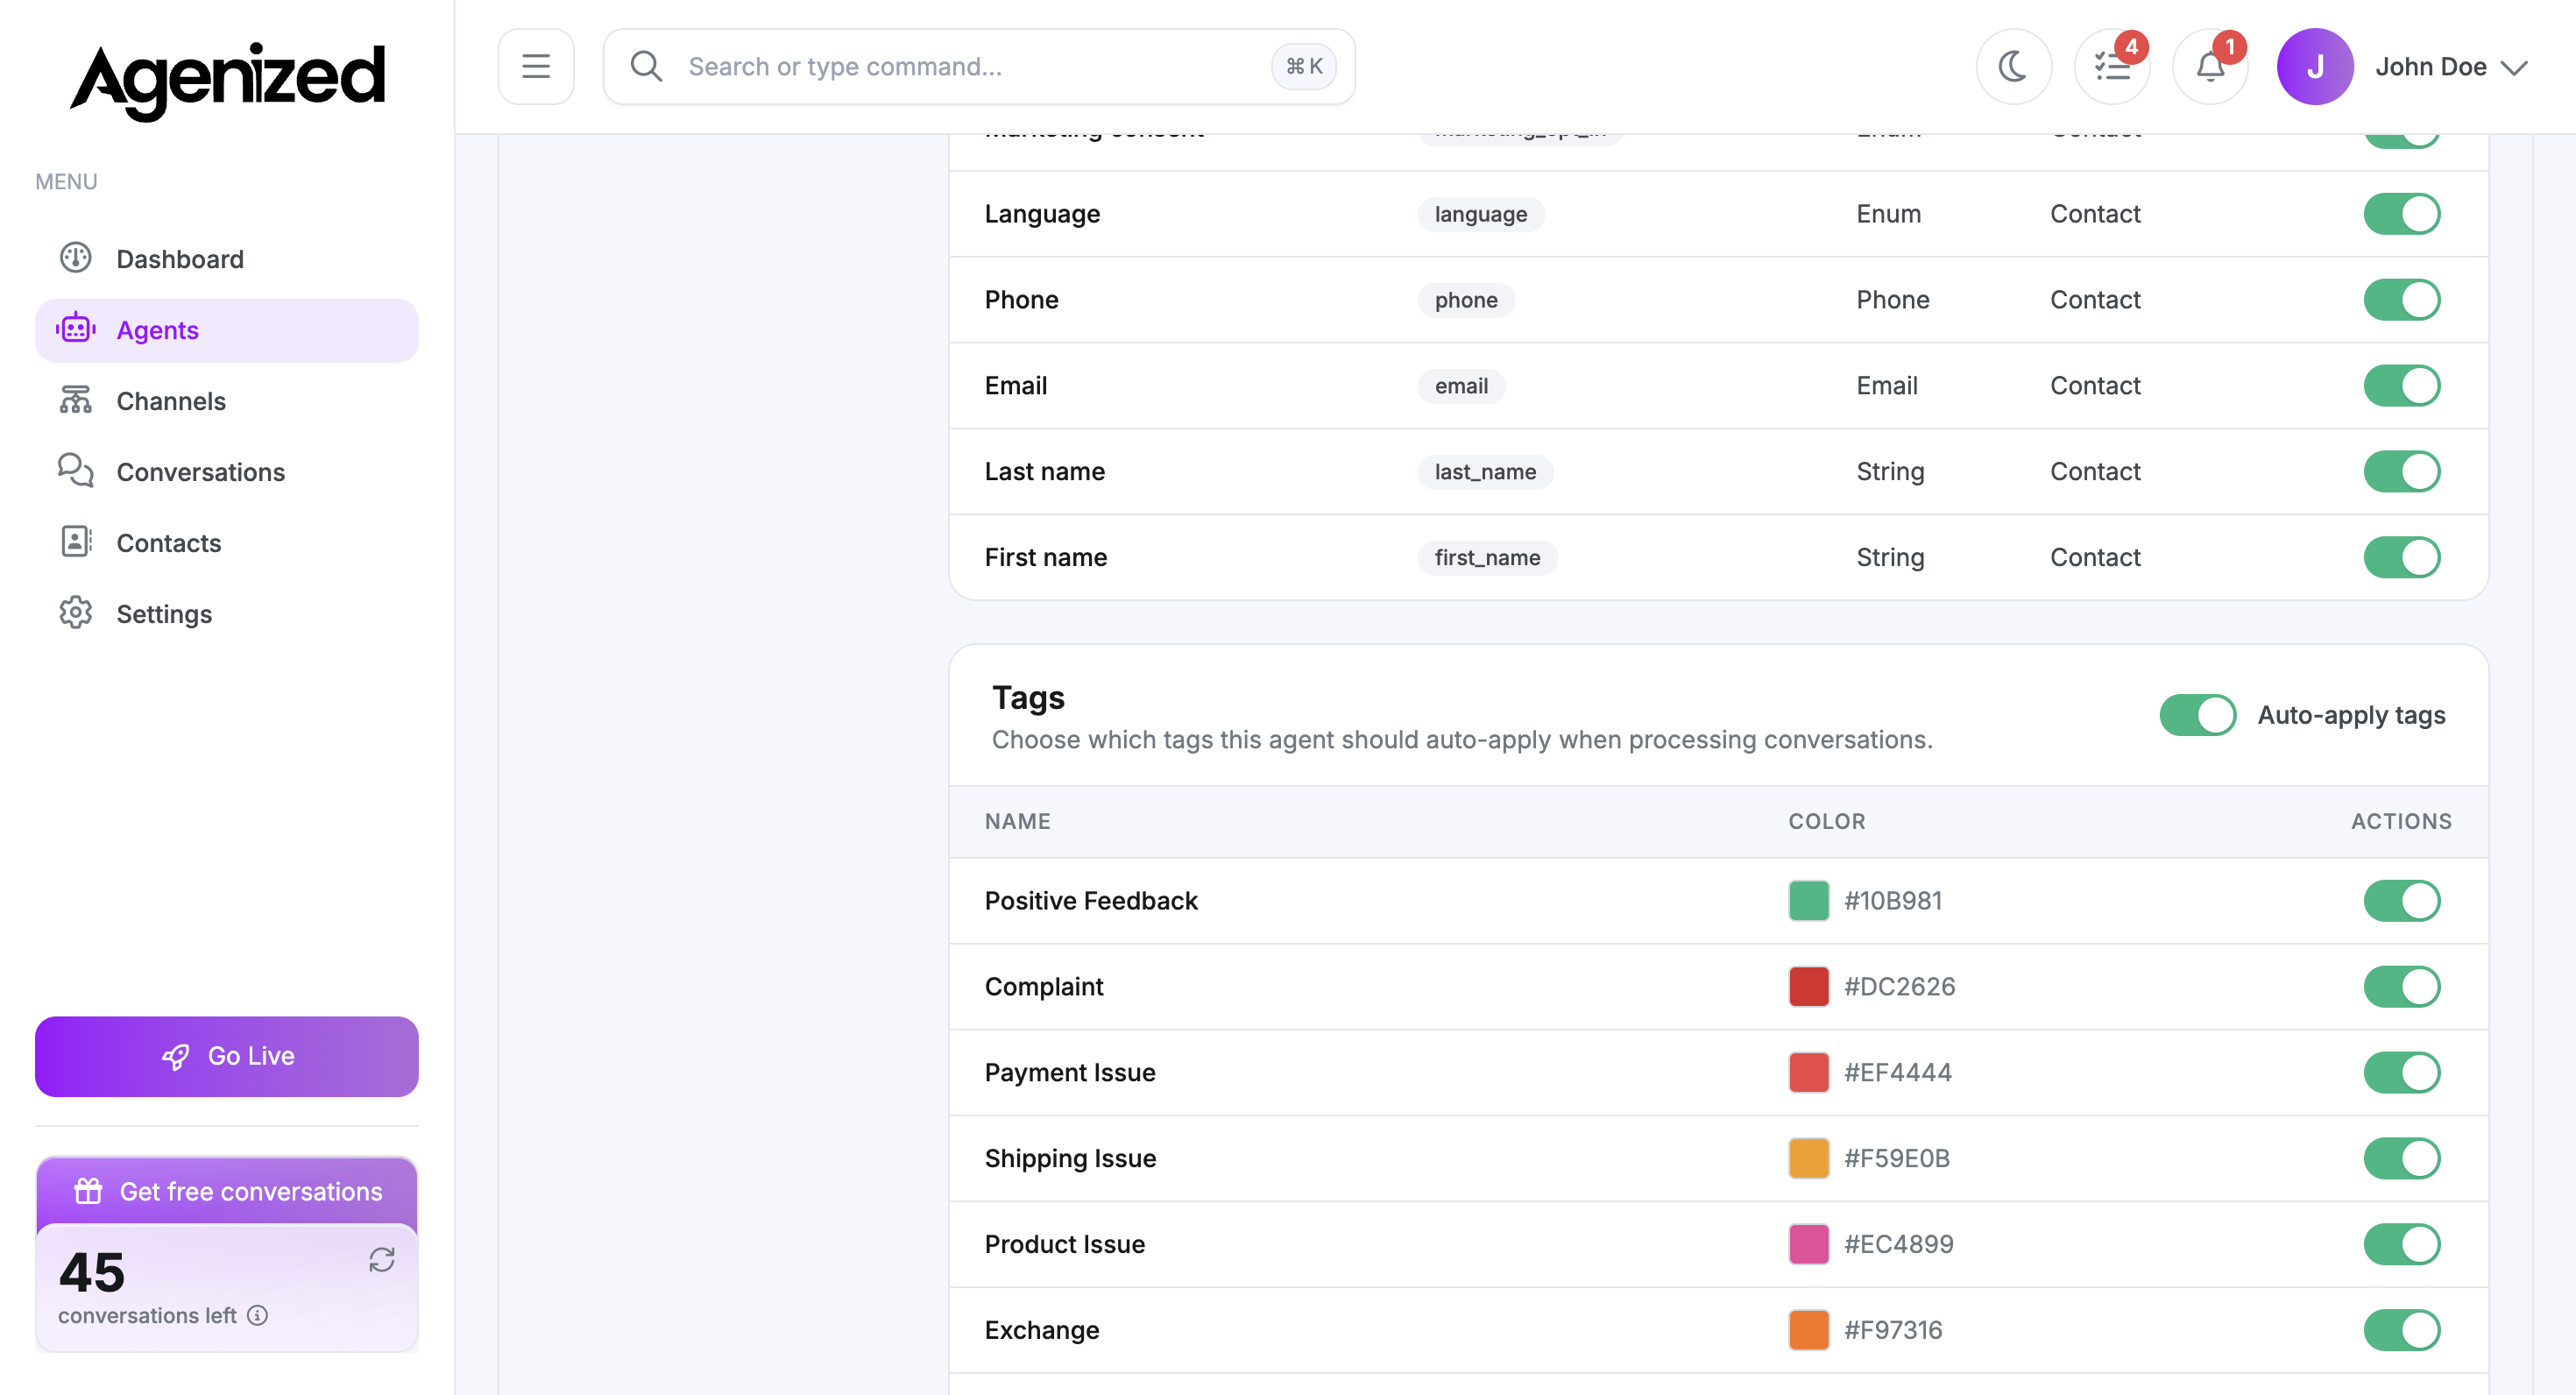
Auto-apply tags works the same way for labels you use in reporting or routing. Only tags you enable here are candidates when the agent processes a conversation.
To create tags for the account, use Settings → Fields & Tags → Tags and Add Tag. Details and screenshots are in Fields & Tags in Settings.
Saving and reset
Adjust toggles
Enable Auto-populate fields or Auto-apply tags as needed, then turn individual fields or tags on or off for this agent.
Save Changes
When you change toggles, use Save Changes. If nothing changed, the button may stay disabled.
Optional reset
Reset to Defaults restores the baseline selection for this agent (useful after experiments).